Turns out that when you use your camera to take pictures of dusty places, the lens gets dusty. Shouldn't be a surprise, but it was. So sorry in advance for some dusty pics in this post.
First dusty shot: the new floors go into the living room. They aren't quite done here - the red paper on the left is the stuff they put underneath the floor as it goes down - but it is a good shot of what the floor grain and wood will look like.
Another view the other way. They have a lot of the floor in upstairs as well, but since I took these after work, and it is late November in DC, it gets to dark to take a lot of shots (there are still not a lot of lights installed).
Here is the closet french door in the "blue" guest room (soon to be child #2's room - hopefully everyone reading this knows about the second child on the way. If not, ask Monica). We opted for a different trim from the existing house that is a little nicer looking (but not that much more $).
Here is a good view of the trim as laid out around the windows. We opted for a "picture frame" treatment around the windows - no window sill - it is a little more modern, but is a very clean look that we really like. This window is the one over the tub in the master bath. The green board on the walls is the moisture-resistant drywall - that is certainly not the final color - don't worry.
Another window in the master bath. this is a better shot of the final trim choice.
This is the window in the kitchen. We opted for a traditional sill here because it will be used to house herbs and such. We replaced the single window in this space with a wider double window to allow more light into the kitchen area. We also had them push the window back as far as they could toward the outside of the house to allow for a realy big (9 or 10 inch) sill area.
Monday, November 29, 2010
Saturday, November 20, 2010
November 20 - Drywall and attic
In this post you can see the drywall progress and some shots of the new portion of the attic
Drywall going up in the dining room. this view is through the dining room to the back windows in the new living room.
Here are stacks of the new flooring to go in. Lots of hardwood floor in the plan (everywhere on both floors save two bathrooms).
Another stack of the white oak - we thought it was red oak in the existing house, but upon closer inspection it is white oak. Not sure what difference that makes, but good to know anyway!
Here is the attic space over the new addition. Since the HVAC system tok up so much of the existing space, it is great to get an additional large are to store the huge quantities of holiday decorations we possess.
Another shot of the new attic space. It is not very tall (about 3 feet in the midle), but will serve our purposes well.
Drywall going up in the dining room. this view is through the dining room to the back windows in the new living room.
Here are stacks of the new flooring to go in. Lots of hardwood floor in the plan (everywhere on both floors save two bathrooms).
Another stack of the white oak - we thought it was red oak in the existing house, but upon closer inspection it is white oak. Not sure what difference that makes, but good to know anyway!
Here is the attic space over the new addition. Since the HVAC system tok up so much of the existing space, it is great to get an additional large are to store the huge quantities of holiday decorations we possess.
Another shot of the new attic space. It is not very tall (about 3 feet in the midle), but will serve our purposes well.
Friday, November 19, 2010
November 19 - siding is up!
Apologies again for the delay. I am going to try and catch up with a few posts because there has been a lot of progress!
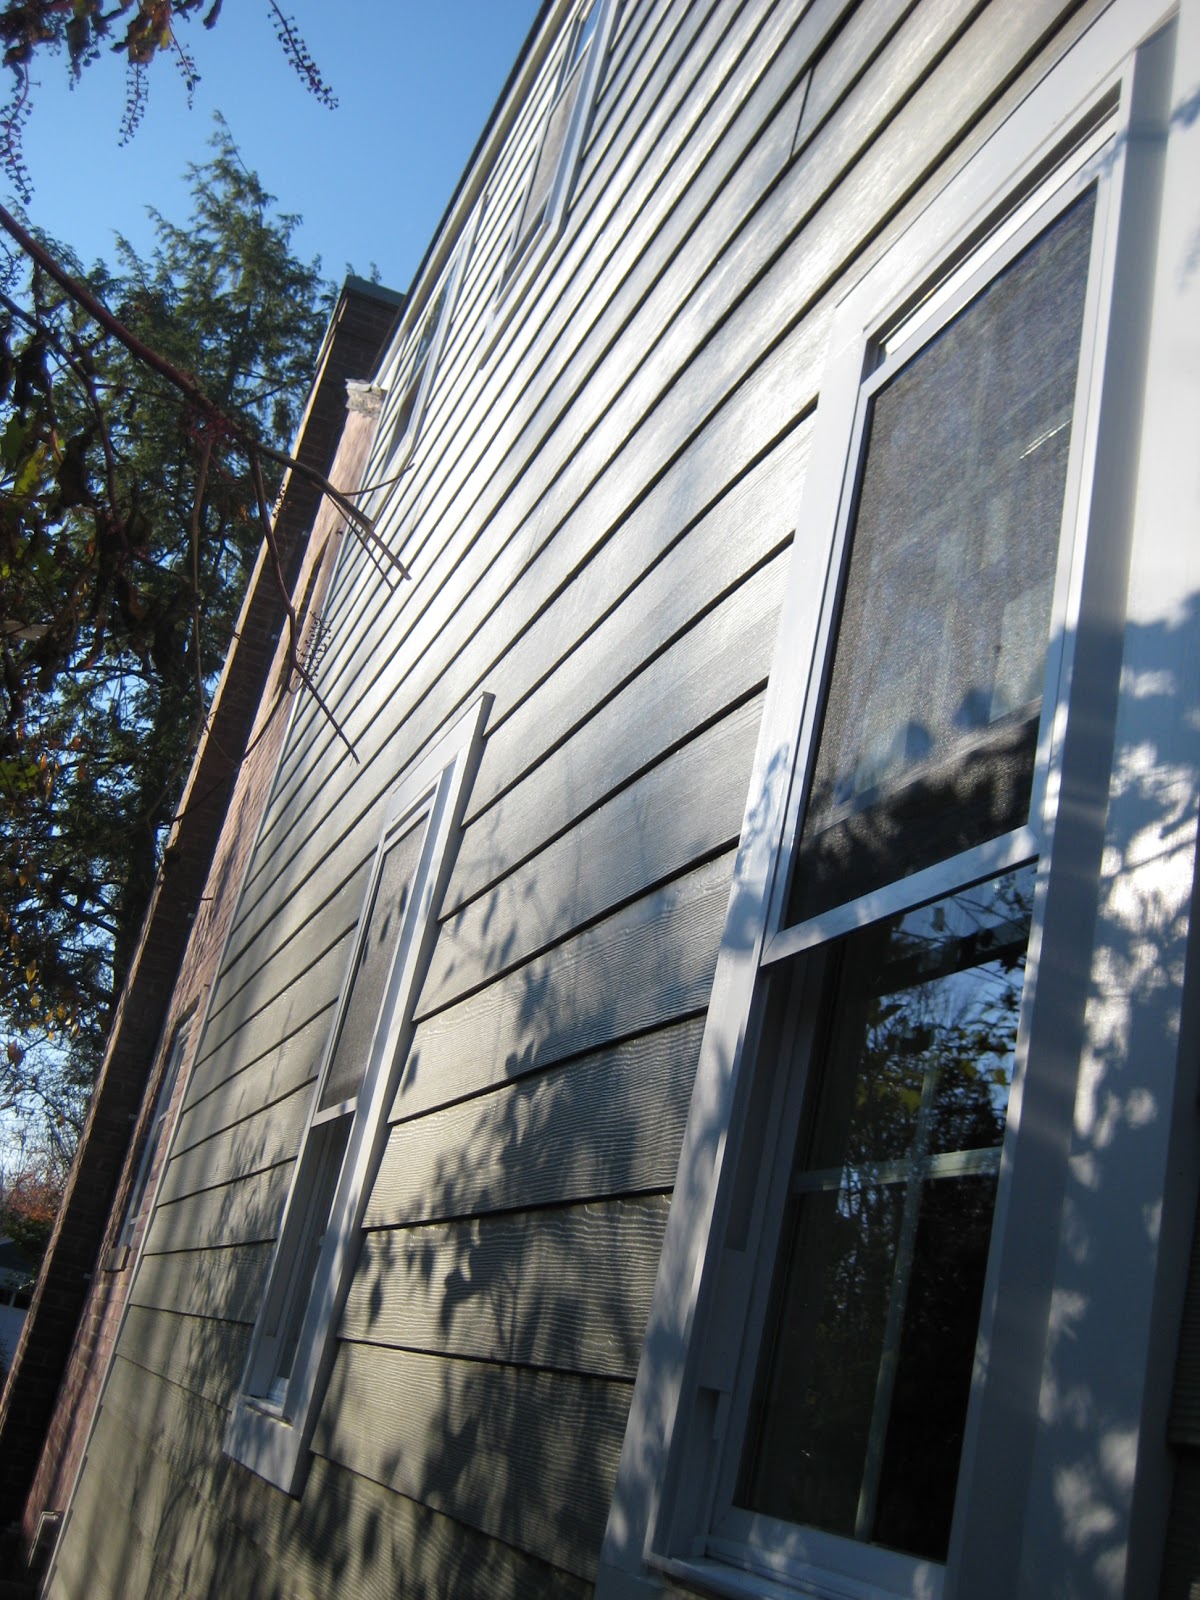
Siding went up. We used a product called Hardie Plank that comes in a selected series of colors that are prepainted and baked onto the surface. As long as you like the colors, the product is a great idea. The color is guaranteed for 15 years and goes up very quickly.
View from the back alley to the back of the house. The building on the right side of the shot is the garage which will be painted to match the house.
From 44th street. The windows are all in and the trim is up.
From Butterworth Place. This is really the only view that people will see regularly. At the bottom, you an see the stairway down to the basement unit.
A view from the back yard. This is a good view of where the two level deck will be going in.
This is the east side of the house. This side is very tight so it is hard to get a good shot.
Siding went up. We used a product called Hardie Plank that comes in a selected series of colors that are prepainted and baked onto the surface. As long as you like the colors, the product is a great idea. The color is guaranteed for 15 years and goes up very quickly.
View from the back alley to the back of the house. The building on the right side of the shot is the garage which will be painted to match the house.
From 44th street. The windows are all in and the trim is up.
From Butterworth Place. This is really the only view that people will see regularly. At the bottom, you an see the stairway down to the basement unit.
A view from the back yard. This is a good view of where the two level deck will be going in.
This is the east side of the house. This side is very tight so it is hard to get a good shot.
Thursday, November 18, 2010
November 10-18th -- Dry Wall!!!
Seems like I have to start all of these with an apology for how long it takes me to update this blog, so I figured I would keep that up and apologize for taking so long to make this update. In my defense, though, there hasn't been much to see until now. The plumbers, electricians and HVAC crew were finishing up and that doesn't make for great photography - "hey that's nice solder!", "is that R8 register wrap?" - but today is different.
Before we left for the beach for a few days, Hyo said that we were in for big changes by the time we got back. Siding up, drywall up and the first coat of drywall mud all in. I think that counts for big changes.

Entrance way to the right. The right door is the one to the powder room and the one on the left is the closet.

This is the shelf in the powder room above where the toilet will go. This was made possible by the addition of the appliance garage in the kitchen (on the other side of the wall).

Kitchen from the living room. The indent in the back corner is the space for the appliance garage.

This is the nook where the desk in the kitchen will go. We have decided to bump the height of the desk to be the same as the kitchen cabinets. That will allow us to use the same height stool here as at the island. Three fit easily there but four will fit in a pinch.

Living room from the bonus room. The middle has been bumped out to accommodate the built in cabinets. The middle panel will be where the TV is going to be hung with 18" cabinets underneath. The cabinets on each side will be 12" depth with 12" shelves above up to just below the windows.

View of the bonus room from the butler pantry.

View back through the kitchen from the living room.

The old living room with a new ceiling. Hyo removed it due to some damage from water and removing the floor above. It was easier to replace than to repair and will look better to boot.

Upstairs guest bedroom. That window is the new one that we ordered to match the existing one in this room.

Closet in the old master bed room. This was doubled in size by combining the space from the closet on the other side of the wall.

Upstairs hallway. The door on the left is to the new guest room (previously Abby's room). The two doors on the right in the hall are (in order) the hall closet and laundry room.

New guest room from another angle.

This is my closet.

Here is the tray ceiling in the master bedroom.

Master bath. The tub is not actually blue - it is a protective coating that Hyo put on it to protect it while the drywall is going in.

This isn't the greatest shot. This is the wall behind the cabinets in the master bath taken from the doorway.

Toilet room in the master bath.

Down to the basement. Hyo removed the existing bulkhead that was down there and replaced it with a smaller version. A lot of the duct work in the old one wasn't needed and it was hanging down just enough for me to run my head into the bottom of it. It is only a couple of inches higher, but it is a very valuable couple of inches.

Another shot.

The old exterior door now covered with drywall.

In the new basement. This is the kitchen area. The stub wall will be the back of the cabinets.

Back toward the doorway to the existing house. The orange drywall on the ceiling is sound deadening. That and the bat insulation should keep the noise down in the basement. Just in case - we won't tell any potential renters that there is a toddler living upstairs.

Another view into the living are of the basement back toward the coat closet.

This shot doesn't show it very well, but the bedroom ended up pretty big. It will be a good sized room.

The basement bathroom - Monica had the god idea to add the nook in the wall utilizing the space left by the old basement exterior door. Storage is at a premium, so this will really help.

Laundry room/nook

A closer view of the kitchen area. The silver tube is the exhaust port for the range.

The door back into the existing house. Hyo framed out a nook for a few shelves to the left of the door. He had them drywall over it for the time being. I am thinking that he thinks that I have enough other things to do first - that I may not get to this project any time soon.

Entry door to the basement.

They had to pull down the ceiling in the storage area in the basement to get to some of the HVAC stuff, so they replaced it with nice new drywall and a new light.
Before we left for the beach for a few days, Hyo said that we were in for big changes by the time we got back. Siding up, drywall up and the first coat of drywall mud all in. I think that counts for big changes.
Entrance way to the right. The right door is the one to the powder room and the one on the left is the closet.
This is the shelf in the powder room above where the toilet will go. This was made possible by the addition of the appliance garage in the kitchen (on the other side of the wall).
Kitchen from the living room. The indent in the back corner is the space for the appliance garage.
This is the nook where the desk in the kitchen will go. We have decided to bump the height of the desk to be the same as the kitchen cabinets. That will allow us to use the same height stool here as at the island. Three fit easily there but four will fit in a pinch.
Living room from the bonus room. The middle has been bumped out to accommodate the built in cabinets. The middle panel will be where the TV is going to be hung with 18" cabinets underneath. The cabinets on each side will be 12" depth with 12" shelves above up to just below the windows.
View of the bonus room from the butler pantry.
View back through the kitchen from the living room.
The old living room with a new ceiling. Hyo removed it due to some damage from water and removing the floor above. It was easier to replace than to repair and will look better to boot.
Upstairs guest bedroom. That window is the new one that we ordered to match the existing one in this room.
Closet in the old master bed room. This was doubled in size by combining the space from the closet on the other side of the wall.
Upstairs hallway. The door on the left is to the new guest room (previously Abby's room). The two doors on the right in the hall are (in order) the hall closet and laundry room.
New guest room from another angle.
This is my closet.
Here is the tray ceiling in the master bedroom.
Master bath. The tub is not actually blue - it is a protective coating that Hyo put on it to protect it while the drywall is going in.
This isn't the greatest shot. This is the wall behind the cabinets in the master bath taken from the doorway.
Toilet room in the master bath.
Down to the basement. Hyo removed the existing bulkhead that was down there and replaced it with a smaller version. A lot of the duct work in the old one wasn't needed and it was hanging down just enough for me to run my head into the bottom of it. It is only a couple of inches higher, but it is a very valuable couple of inches.
Another shot.
The old exterior door now covered with drywall.
In the new basement. This is the kitchen area. The stub wall will be the back of the cabinets.
Back toward the doorway to the existing house. The orange drywall on the ceiling is sound deadening. That and the bat insulation should keep the noise down in the basement. Just in case - we won't tell any potential renters that there is a toddler living upstairs.
Another view into the living are of the basement back toward the coat closet.
This shot doesn't show it very well, but the bedroom ended up pretty big. It will be a good sized room.
The basement bathroom - Monica had the god idea to add the nook in the wall utilizing the space left by the old basement exterior door. Storage is at a premium, so this will really help.
Laundry room/nook
A closer view of the kitchen area. The silver tube is the exhaust port for the range.
The door back into the existing house. Hyo framed out a nook for a few shelves to the left of the door. He had them drywall over it for the time being. I am thinking that he thinks that I have enough other things to do first - that I may not get to this project any time soon.
Entry door to the basement.
They had to pull down the ceiling in the storage area in the basement to get to some of the HVAC stuff, so they replaced it with nice new drywall and a new light.
Saturday, October 23, 2010
Days 75 - 77 Windows! Part 1
The windows were on order for a few days while the HVAC, plumbers and electricians finished up their work. We had already bought some windows at the auction and those were sitting in the garage, so Hyo and the crew put a lot of those in while we were waiting for the ones from Pella and Alside.

Main living room window. This was the big bargain from the auction. Retail, this window would run around $2000. I got it for $250. Of course, Erik and I had to haul the incredibly heavy thing back to the house, but for the price, it is hard to complain.

Here is a view out the back of the house through the window. This photo makes the yard seem a lot smaller than it looks in person, but this gives you a good idea on how large a window this is and how big a view it will give us.

Window from the side.

They removed the cracked walkway all the way back to the garage at our request. We don't really know what we are going to do with the back yard at this point, but are going with the "clean slate" approach. It will be graded and sodded. We can improve on it when we have time and budget to focus on it.

This is the ledger board for the deck. I thought it was a lot easier for building the deck to have pros put on the piece that everything else is tied to and based on (for level and size).

Because of the grading and the height that we set the windows (low enough to fit trim over top of them inside), Hyo had to put in these wells. They are actually pretty nice to allow for really good drainage and let the maximum of light in.

Here is the nearly finished stairway down to the basement unit. Window in and the trim board around the base of the house going up above it.

They completely removed the old subfloor from the old kitchen. Like a lot of things in the house, it had been redone several times. Much better to go down to the very base and start over.

Into the basement now. This is the window over the toilet in the basement bathroom. It is taller and narrower than the others and is set very near the outside wall to allow for a nice ledge for storage.

Basement bedroom. The window on the right is the code-required "egress" window. You may remember the big well that had to be dug earlier to accommodate this window. It is large by above ground standards - you have to be able to climb out of it easily.

Here is the outside window well. The mason took the extra time to put a really nice brick cap on the top of the well wall. This is not a high traffic area by any means, but it is nice to know that the mason cares enough to add this detail.

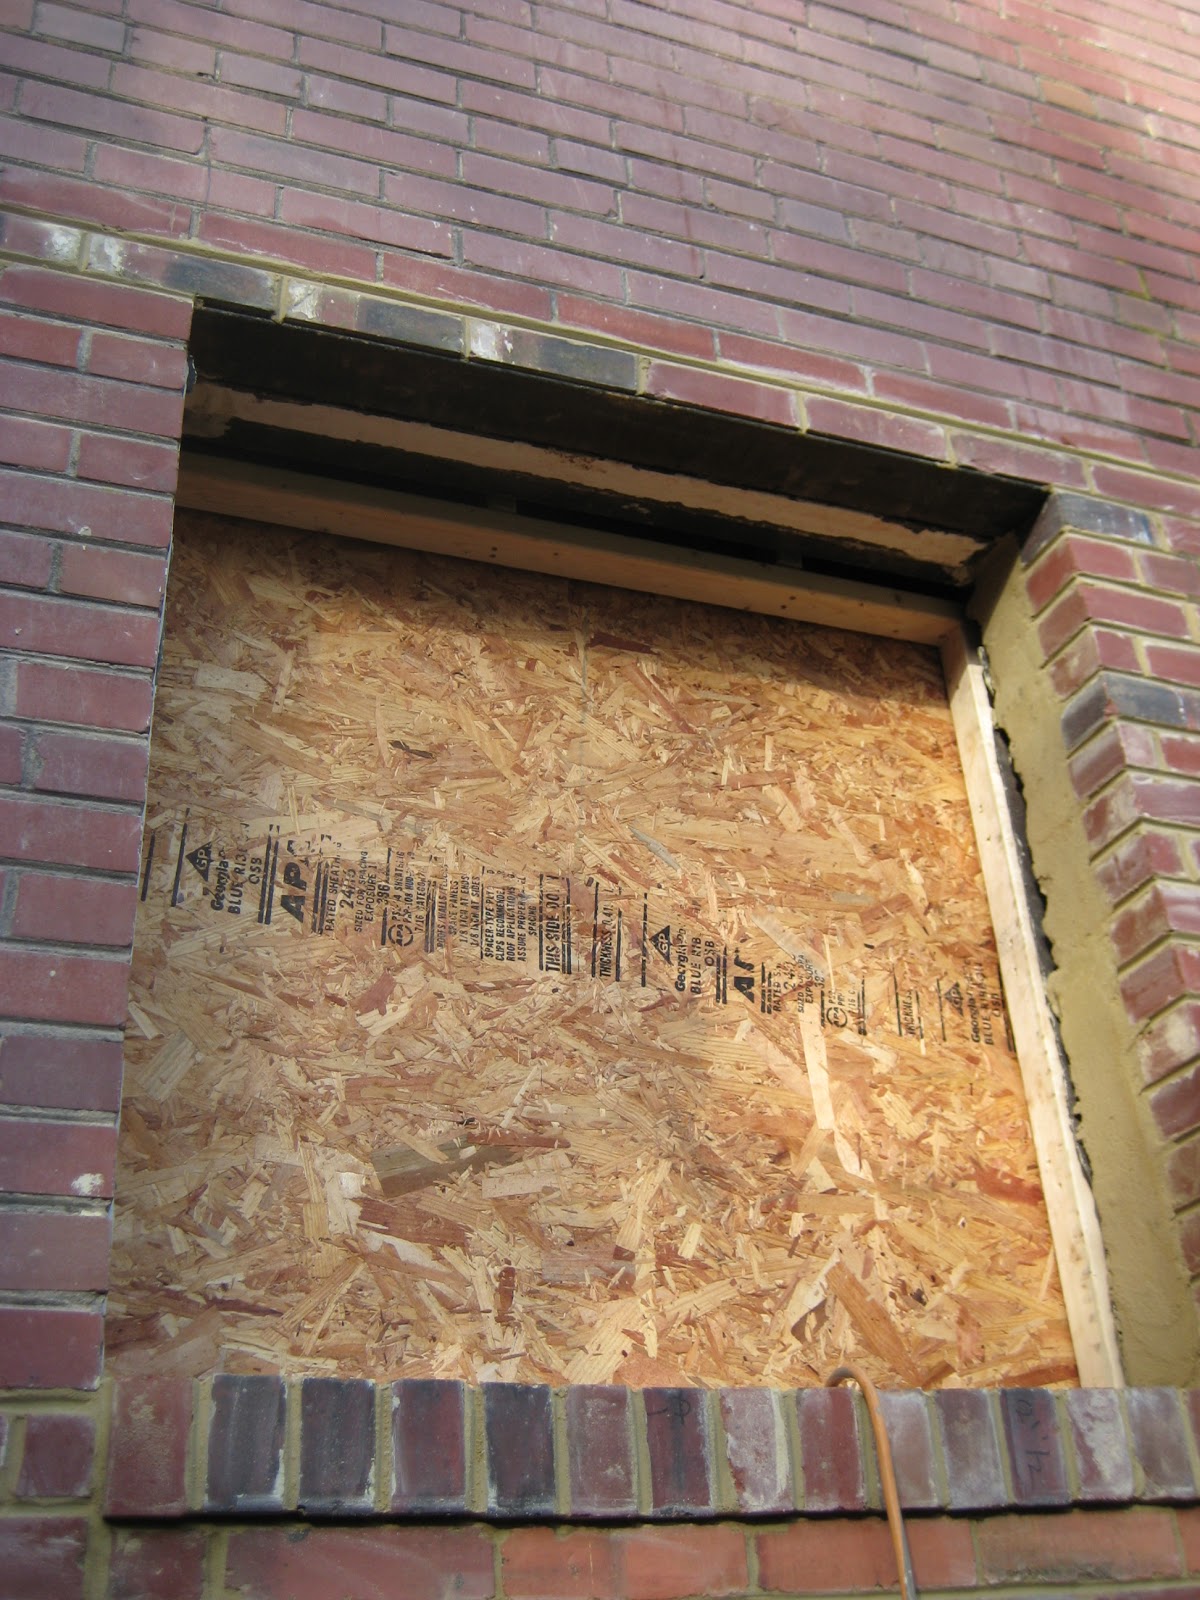
The window cut out for the kitchen window. This is roughly twice the width of the old window to let more light into the much larger kitchen.

Here is the other window opening that we had cut for the house - this one is in the hall bathroom (the one that used to be the only bathroom). Since we took away the window that was there (because that's where we put the addition) we needed to get some light into the space.

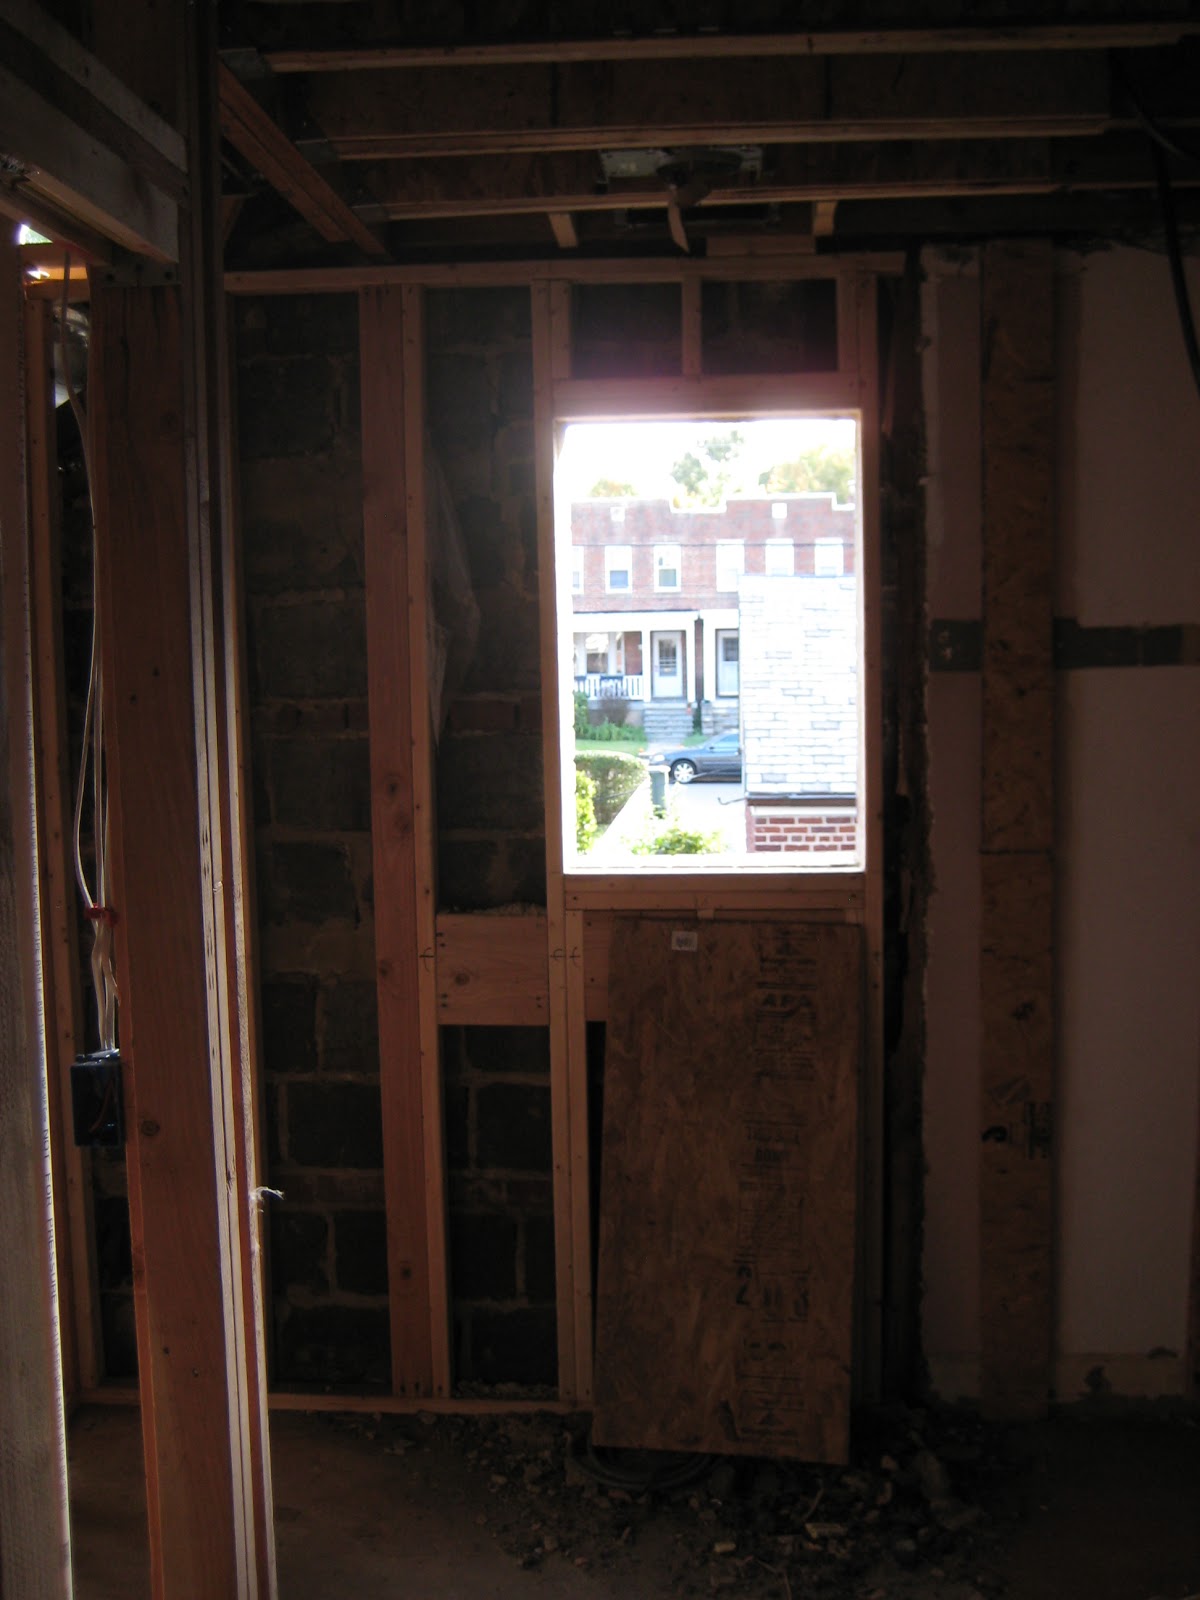
Here is the view out of the window. It is actually a pretty nice view.

Something I noticed while looking around on the front porch. You can actually see all the way through the house. This view would be would be through the porch window, through the dining room and living room and out the back window
Main living room window. This was the big bargain from the auction. Retail, this window would run around $2000. I got it for $250. Of course, Erik and I had to haul the incredibly heavy thing back to the house, but for the price, it is hard to complain.
Here is a view out the back of the house through the window. This photo makes the yard seem a lot smaller than it looks in person, but this gives you a good idea on how large a window this is and how big a view it will give us.
Window from the side.
They removed the cracked walkway all the way back to the garage at our request. We don't really know what we are going to do with the back yard at this point, but are going with the "clean slate" approach. It will be graded and sodded. We can improve on it when we have time and budget to focus on it.
This is the ledger board for the deck. I thought it was a lot easier for building the deck to have pros put on the piece that everything else is tied to and based on (for level and size).
Because of the grading and the height that we set the windows (low enough to fit trim over top of them inside), Hyo had to put in these wells. They are actually pretty nice to allow for really good drainage and let the maximum of light in.
Here is the nearly finished stairway down to the basement unit. Window in and the trim board around the base of the house going up above it.
They completely removed the old subfloor from the old kitchen. Like a lot of things in the house, it had been redone several times. Much better to go down to the very base and start over.
Into the basement now. This is the window over the toilet in the basement bathroom. It is taller and narrower than the others and is set very near the outside wall to allow for a nice ledge for storage.
Basement bedroom. The window on the right is the code-required "egress" window. You may remember the big well that had to be dug earlier to accommodate this window. It is large by above ground standards - you have to be able to climb out of it easily.
Here is the outside window well. The mason took the extra time to put a really nice brick cap on the top of the well wall. This is not a high traffic area by any means, but it is nice to know that the mason cares enough to add this detail.
The window cut out for the kitchen window. This is roughly twice the width of the old window to let more light into the much larger kitchen.
Here is the other window opening that we had cut for the house - this one is in the hall bathroom (the one that used to be the only bathroom). Since we took away the window that was there (because that's where we put the addition) we needed to get some light into the space.
Here is the view out of the window. It is actually a pretty nice view.
Something I noticed while looking around on the front porch. You can actually see all the way through the house. This view would be would be through the porch window, through the dining room and living room and out the back window
Subscribe to:
Posts (Atom)